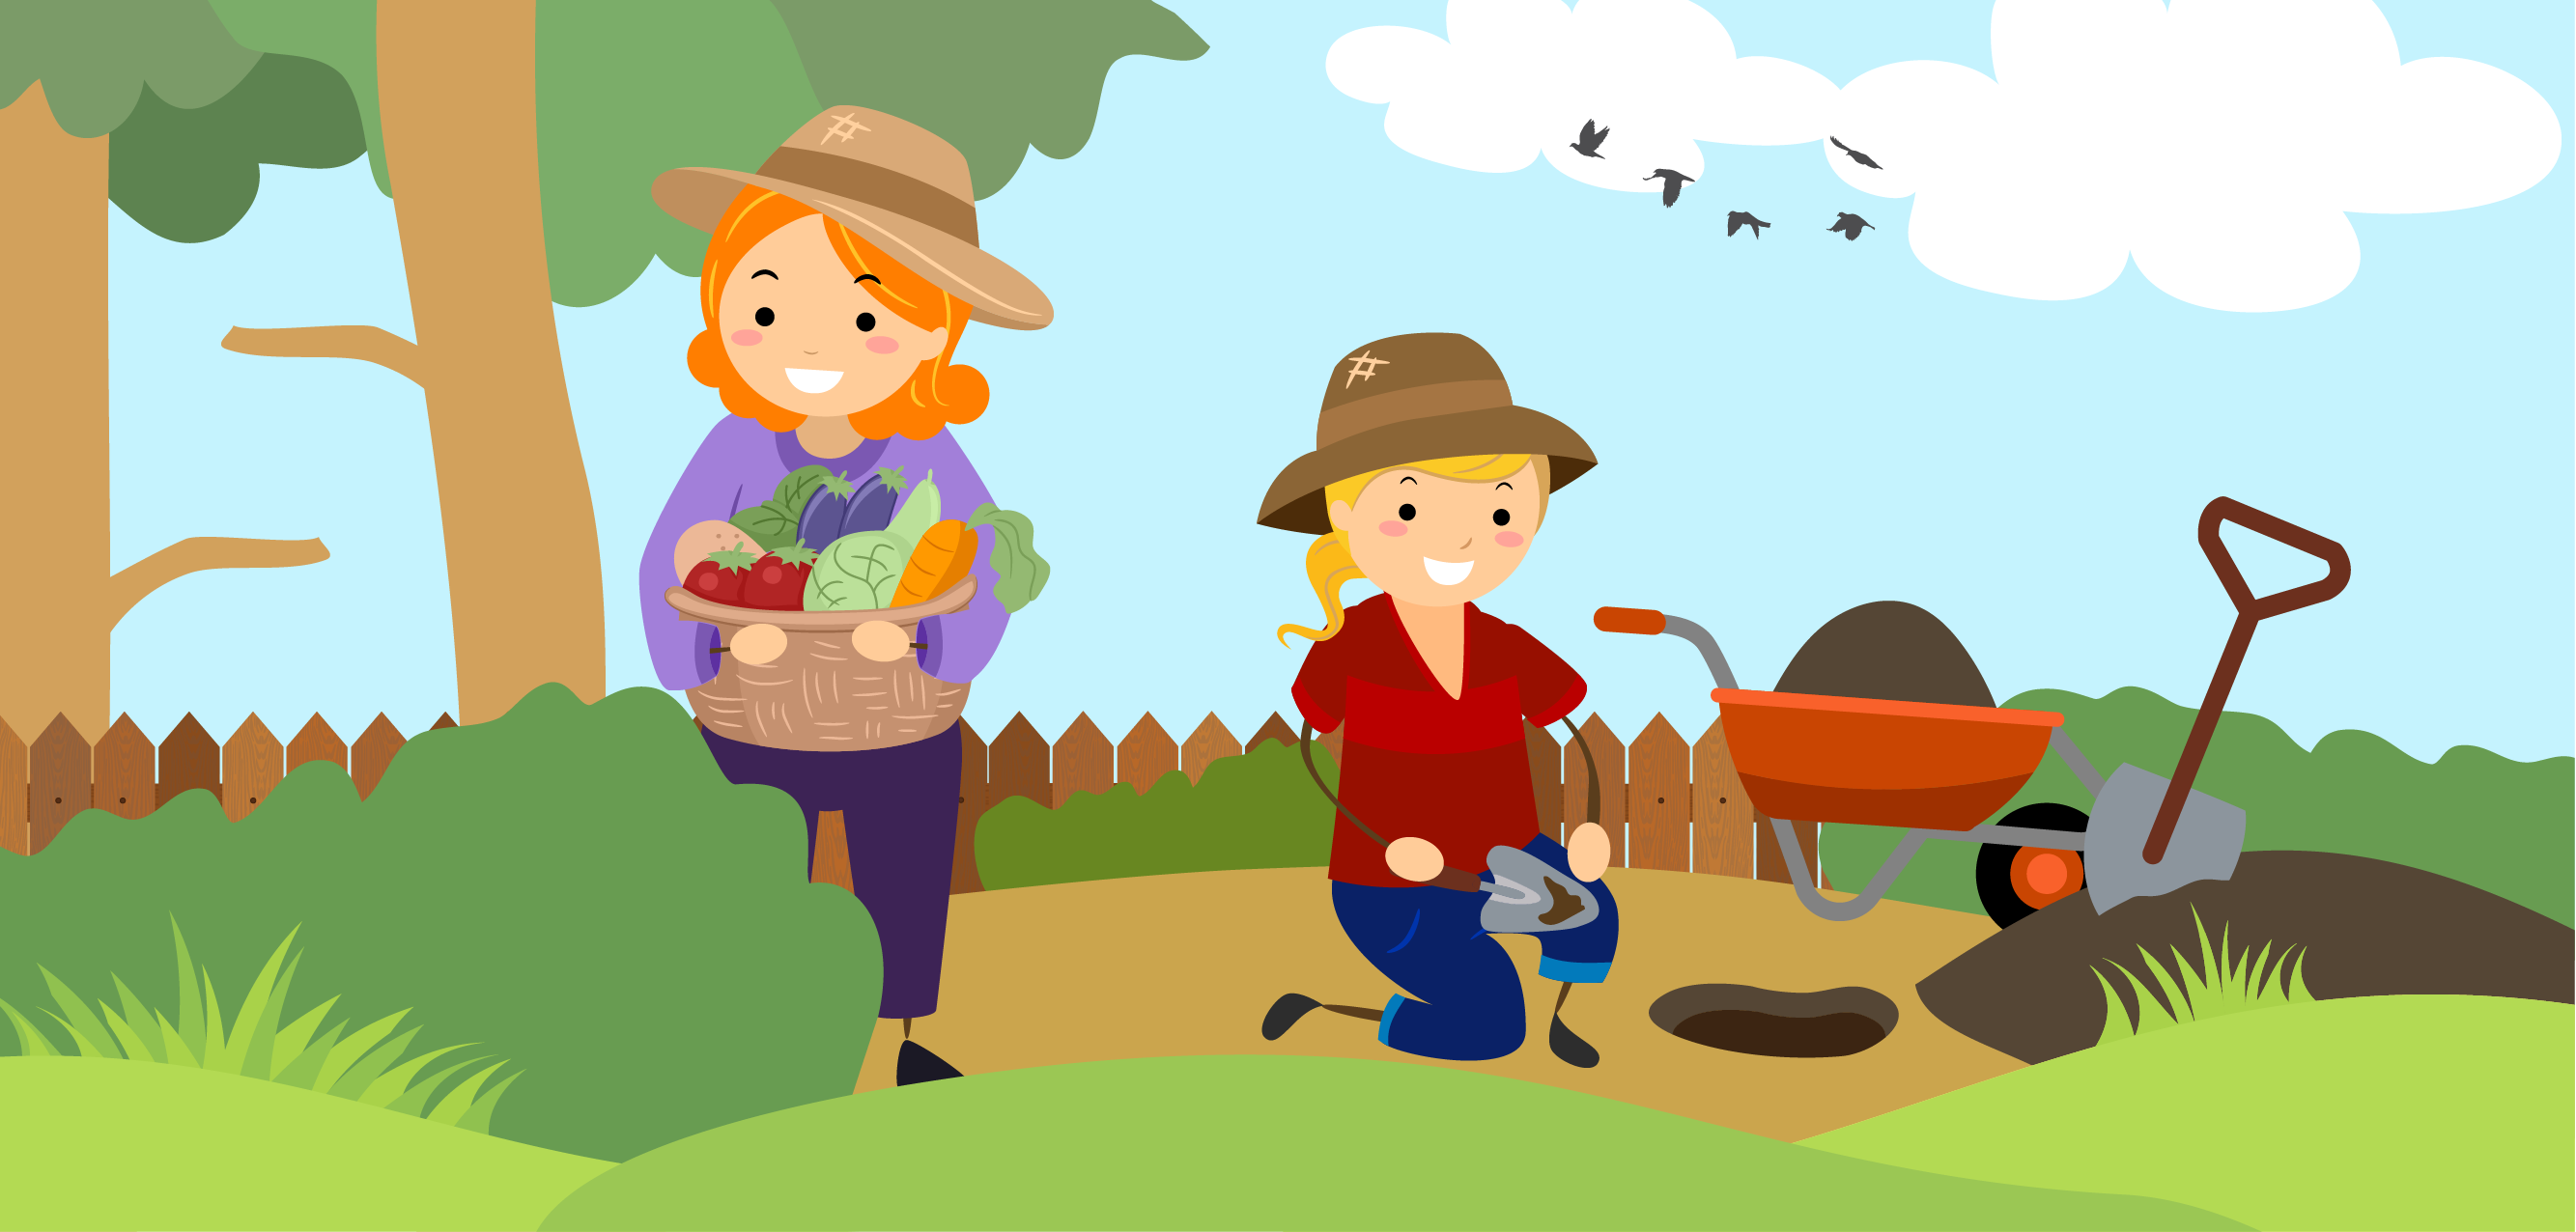
Soils are wonderful. They are important for…
… Plant life – Soil gives plants somewhere to grow and provides them with minerals, nutrients and water.
… Animal life – Animals get their energy from eating plants or from eating other animals that eat plants.
… Recycling – When animals and plants die, they decompose (break-down) in the soil to become food for plants.
… Air – Plants that grow in soil create oxygen for living things.
… Storing water – Soil has the ability to store water for plants and animals.
… Building – Soil is used to make brick, ceramics and other materials we use to build things.
… Farming – Humans rely on the soil to grow crops and pastures to produce most of the food we eat.
What is Soil?
Soil is the loose material that makes up the immediate top layer of our planet. It is made up of mineral and rock particles, decaying organic matter, living things, air and water. The different amounts, sizes and types of these things gives us different types of soil.
Understanding the soil type helps us know what plants will grow best in different parts of our backyard. It lets us know if we need to improve the soil by adding organic matter and nutrients, such as fertilizers, composts or manure.

Soils at your place
Step 1
Using a small trowel collect 3 soil samples from different parts of your backyard and place them in your tubs/containers. You want different types of soil so you could collect from different places like a veggie garden, lawn, garden bed, native garden bed, compost, sand pit etc.
When collecting your samples, dig at least 15-20cm down (beneath very top layer) and take enough soil that you could completely fill your jar. Try to avoid any bigger rocks and pieces of organic matter (sticks, roots and other plant parts).
Label your samples with your permanent marker A, B and C. Mark the on the activity sheet where you got the sample from.
Step 2
Soil has the ability to absorb and store water for plants to use. When the soil in our backyard gets too dry, we notice the plants might wilt and droop. This is a sign we need to water them.
Rub a small amount of each of your soil samples in your fingers. Does your soil feel wet, damp or dry? Write the answer on your activity sheet.
Step 3
Half fill your jars with each of the different soils you collected. Make sure you label your jars, so you know which soil is in it.
Draw a line on your jar to mark the original level of the soil. Use your ruler to measure, in millimetres how high your soil level is from the bottom of the jar. Record this on your activity sheet.
Step 4
Fill your jug or bucket with 2-3 litres of water. Add a squirt of dish-washing liquid to the water (just as much as you would use to wash the dishes).
Step 5
Slowly add the water solution to the first jar until it is about ¾ full. Try not to stir the soil up too much.
Observe your jar to see whether there are bubbles being released as the water sinks into the soil. These bubbles show that there is air trapped between the spaces in the soil. Mark on your activity sheet whether your sample has air bubbles. Repeat with your other 2 soil samples.
Step 6
Place your lid on your first jar and shake it up to make sure the water and soil is mixed together. Top the jar up again with the water solution until at least ¾ full. Shake your jar again for 30 seconds and then place it on a level surface. After 5 seconds mark any layer that you can see in the bottom of your jar. Measure and record in millimetres Layer 1 on your activity sheet. Repeat with each jar.
Step 7
Leave your soil/water mixtures to settle for 5 minutes. Mark any other visible layers that form on top of Layer 1. Measure and record Layer 2 in millimetres on your activity sheet.
Step 8
Leave your soil/water mixtures to settle for 24 hours. Mark any other visible layers that have formed on top of the layer 1 and 2. Measure and record Layer 3 in millimetres on your activity sheet Record any other layers you might see.
Step 9
Are their any dark clumpy things floating on the water or that have collected on the top layer? This is organic matter in the soil and is made up of plants and animals decomposing (breaking down). Soils that have large amounts of organic matter are more fertile and grow plants more easily. Mark whether your sample has any organic matter on your activity sheet.
Step 10
Answer the questions on your activity sheet.
What you should see:
- Different layers in your jars.
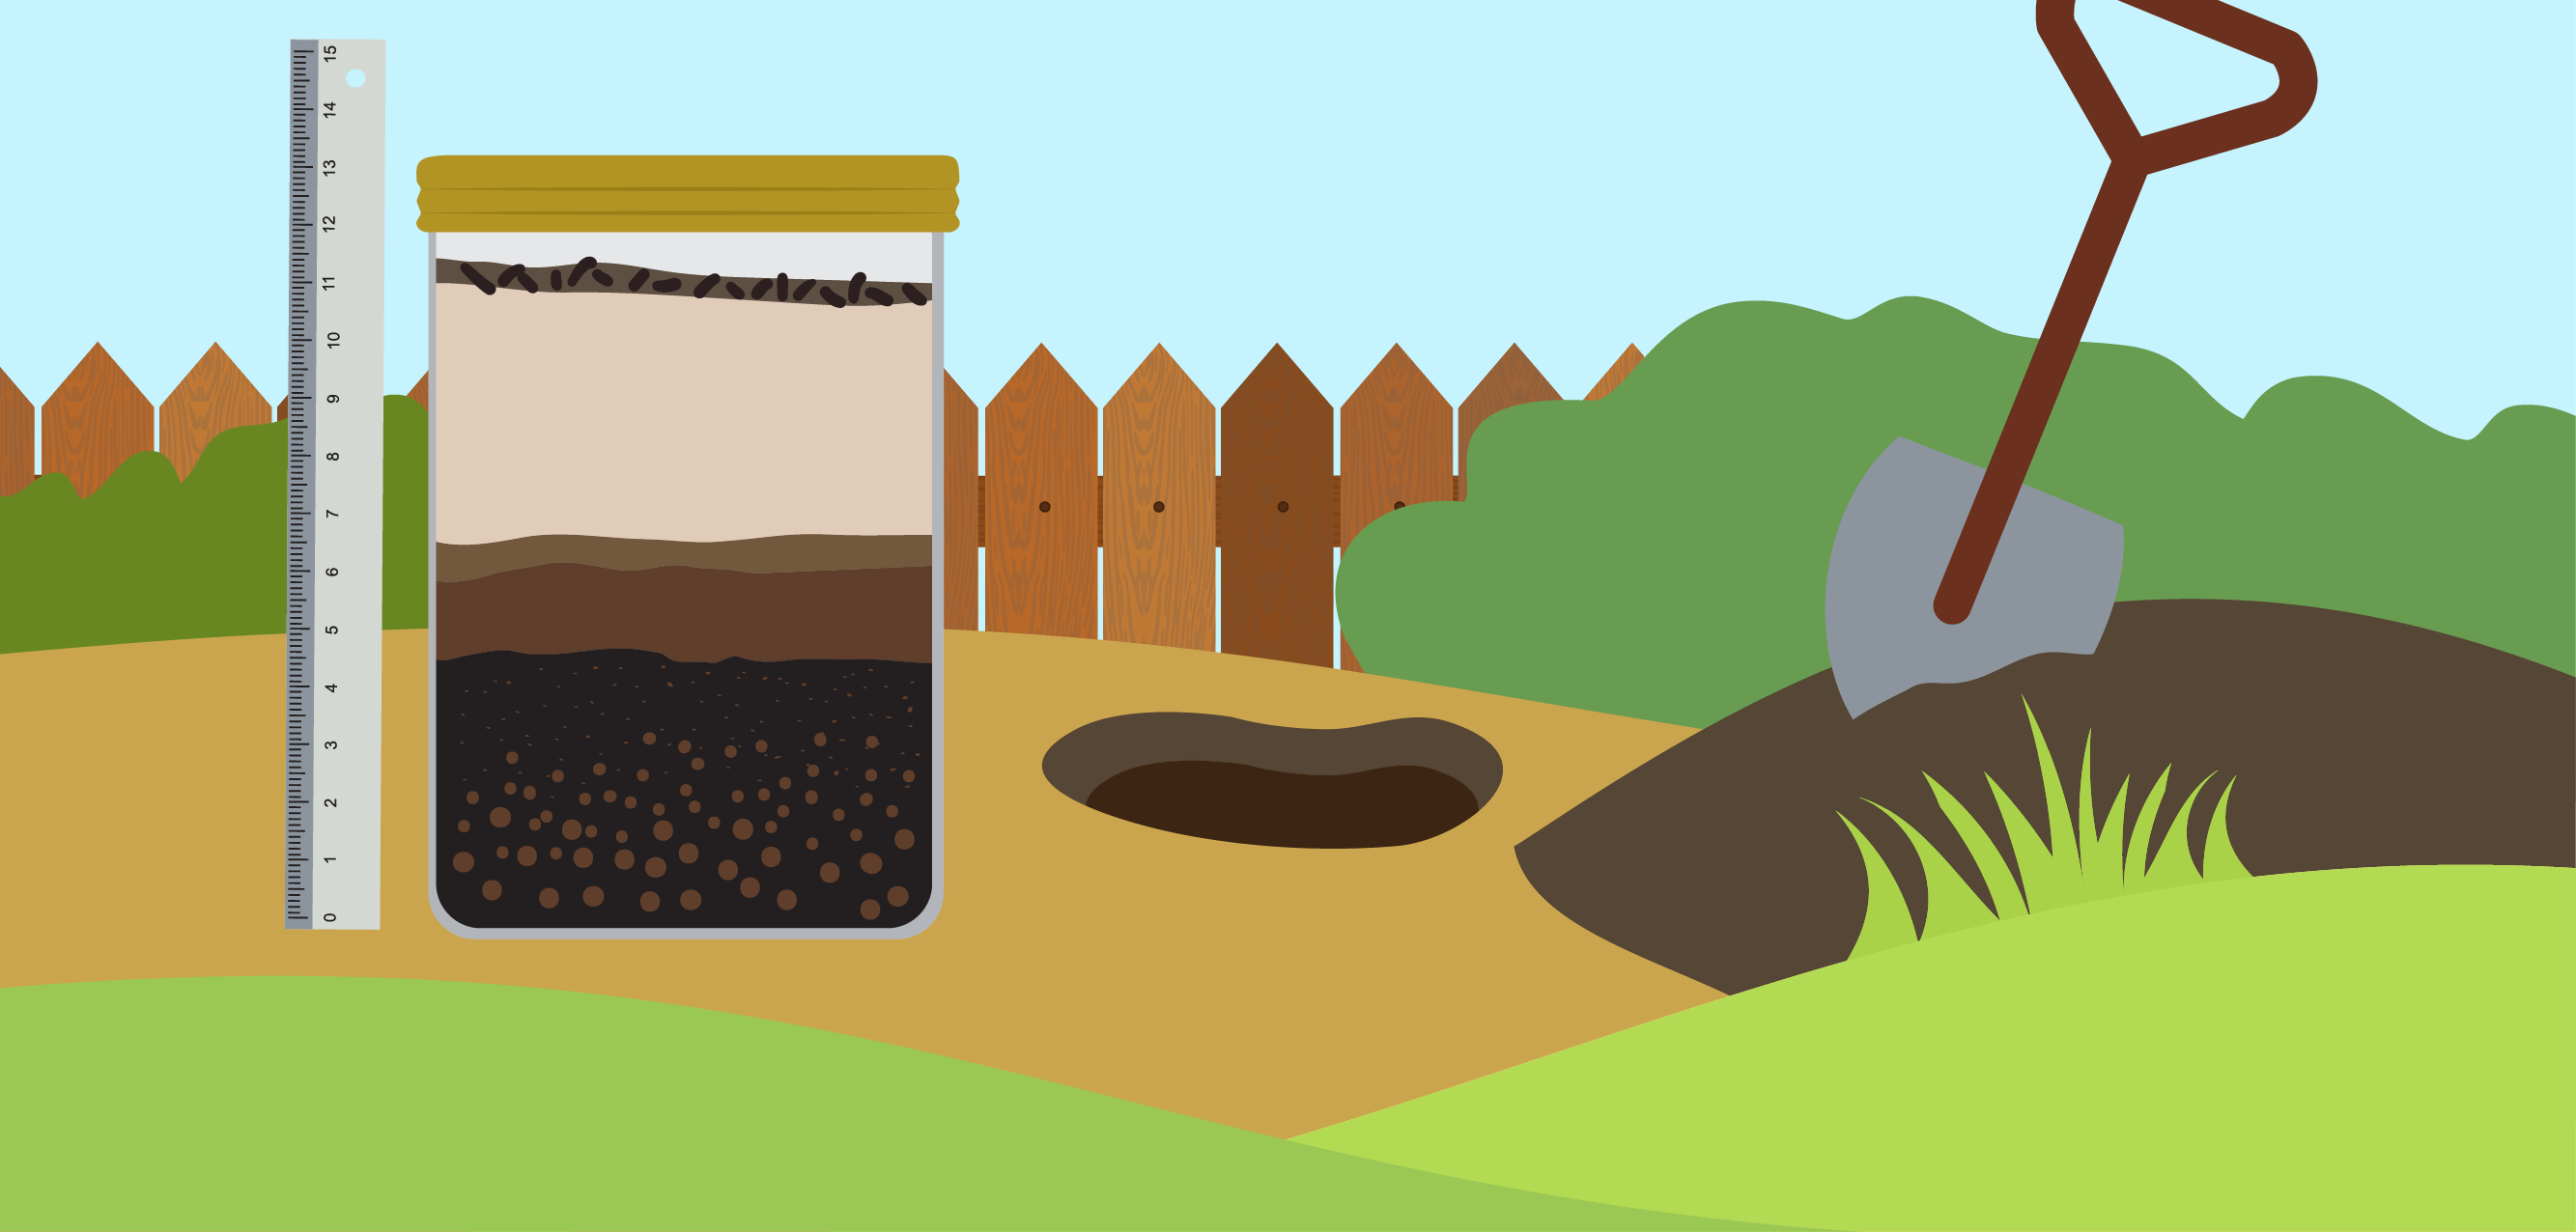
- Sand particles are the biggest and heaviest and sink to the bottom. Sand makes up the bottom layer/s.
- Silt particles are smaller and lighter than sand, but larger and heavier than clay. Silt makes up the middle layer/s.
- Clay particles are the smallest and lightest and will make up the top layer/s
- Organic matter will be dark in colour and float in the water or clump on top of your other layers.
- Your water will still seem a bit cloudy after 24 hours. This means there are nutrients dissolved in the water.
Send us a photo of your completed activity
With parent/guardian permission, submit a photo of your completed activity and it could be displayed on the website and the Hunter Local Land Services Facebook page.
